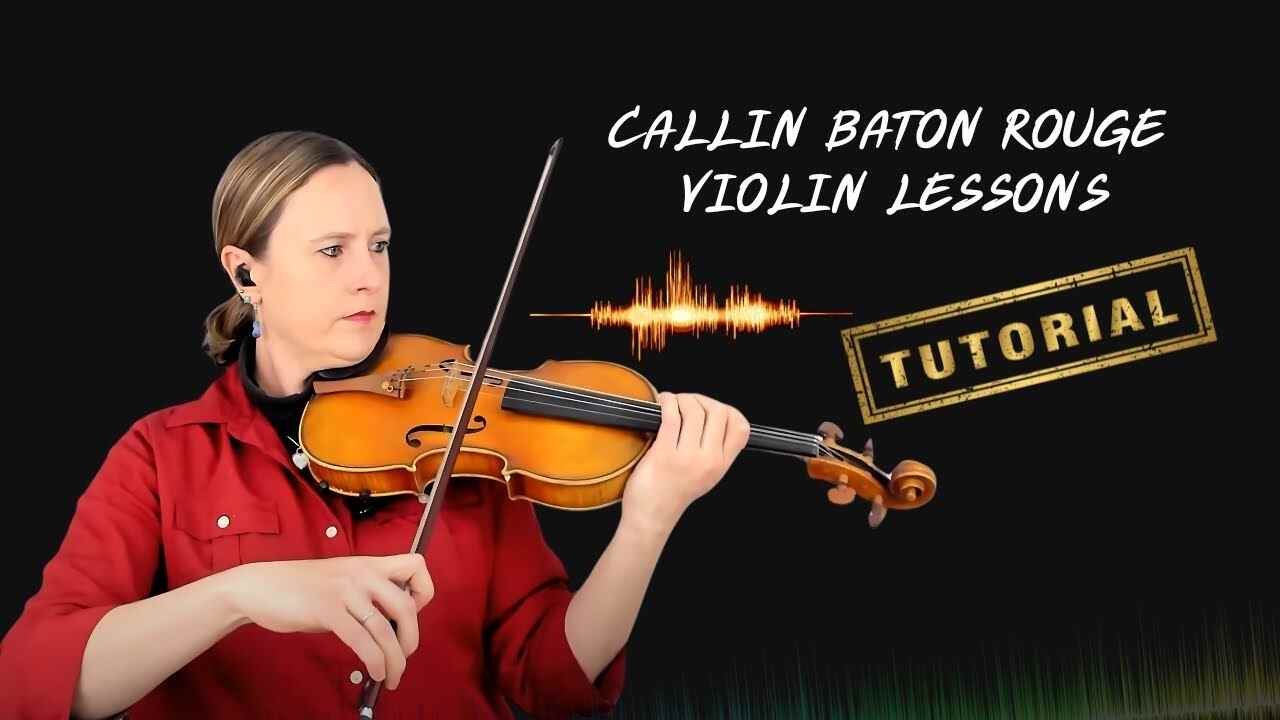

Great to learn the violin, and mastering the positions of the fingers makes one a good violinist. Proper placing of the fingers improves intonation, tone, and general technique among beginners. This guide will be of help with all those necessary tips so that your fingers are in the right position in your violin for good results.
Why Finger Position Matters
Correct positioning of the fingers on the violin is basic to playing the correct notes and obtaining good intonation. If the fingers are not placed correctly, there will be poor quality in the sound emitted, and indeed this may impede progress. Attention to the proper placement of the fingers at an early stage will assist in developing the necessary memory in the muscles so that playing becomes smooth and confident.
For proper placement of fingers,
which would help: Intonation-the right pitch of all the notes.Ease of shifting-smooth shifting between the notes.
Finger strength and agility: Since advanced methods of playing require it.
Understanding of the Fingerboard
Before starting with the positions, you should get an idea of what the violin’s fingerboard looks like. The fingerboard is a long black surface where you place your fingers to press down the strings. Unlike in a guitar, the violin doesn’t have any frets that direct your fingers. Precision is critical here.
The four violin strings -G, D, A, E- are tuned in fifths. By moving your fingers on various parts of the strings, you are, in essence, shortening the vibrating length of the string and thereby producing different notes. For beginners, it is very important to become familiar with the location of the notes on the fingerboard for each string.
Basic Finger Numbers
In playing the violin, each finger is identified by a number:
- Index finger: 1st finger,
- Middle finger: 2nd finger,
- Ring finger: 3rd finger,
- Pinky finger: 4th finger.
These numbers refer to the sequence in which one places the fingers on the string. This said, it’s common for beginners to be taught to focus on the first three fingers first then add the fourth-the pinky-once they get a bit more comfortable.
Some Essential Finger Placement Tips on Violin
As a beginner, most of your initial playing will be in the first position, placing of the left-hand at the place where your scroll of the violin is, with your first finger near the nut-that small strip at the top of the fingerboard.
1. First Position:
- G string: First finger plays the A note; second finger plays the B note; third finger plays the C note.
- First finger on the D string plays E, the second plays F, and the third plays G.
- First finger on the A string plays B, the second plays C, and the third plays D.
- First finger on the E string plays F, the second plays G, and the third plays A.
Get familiar with the first position notes before using the position fingerings that have more complexity to them.
2. Mark Finger Positions Using Tape
One of the methods applied by beginners is marking the correct finger positions on the fingerboard using tape. This way, a new player will be able visually to position his fingers correctly and avoid mere guessing.
Application: Thin strips of colored tape can be placed across the fingerboard at key note positions.
For example, set a tape at the first finger position A on G string, second finger position B, and the third C.
The tape leads you to where your fingers are supposed to fall until you build up the muscle memory to find those spots yourself.
3. Check Your Finger Placement with a Tuner
A great thing to invest in for the beginning violinist is a tuner. You will want to make sure that the notes you are playing are in tune. Put your fingers on the strings and check with the tuner whether each note is correct. Eventually, that will train your ear to tell you where your finger position should be, which is critical to playing in tune.
Here’s how you can use a tuner:
Play the note and watch the tuner to see if you are sharp or flat. In, move your finger placement until the tuner shows the correct pitch. Repeat for each finger on all four strings. 4. Hand and Finger Posture Good hand and finger posture means good finger placement. Here’s how you can achieve good posture:
Let the hand relax: Do not press too hard on the neck of the violin; it may restrict the fingers.
Keep your fingers curved: There should be a natural curve in your fingers when you press down on the strings. Flat fingers create sloppy intonation.
Position your wrist: Let your wrist not collapse under the neck of the violin. In that way, your fingers will be able to move freely across the strings.
Position of the thumb: Your left-hand thumb lightly presses against the neck of the violin, which should support the instrument without clamping.
4. Practice Scales and Simple Songs
Practice the placing of the fingers up and down the fret board to get a feel for how all the fingers should fall. Once you are comfortable with placement, practice scales to help solidify your learning. First, the G major scale uses the first three fingers on each string.
On the G string, G, A, 1st finger, B, 2nd finger, C 3rd finger.
D string, D, E-1st finger, F-2nd finger, G-3rd finger.
Play this scale several times slowly, listing carefully to the finger placement. Once you have familiarized yourself with the scales, play some straightforward melodies like “Twinkle, Twinkle, Little Star” to continue working on appropriate finger placement.
Common Errors to Be Avoided
The subsequent are common errors that beginners make in learning positions of fingers and their ways of avoidance
Lifting fingers too high: Try to keep your fingers as close as possible to the strings for quicker and more accurate placement.
Not pressing hard enough: Be sure you press firmly enough on the string that the note or chord sounds clear.
Not paying attention to intonation: Always use a tuner or a piano for reference that your notes are in tune.
Building Muscle Memory
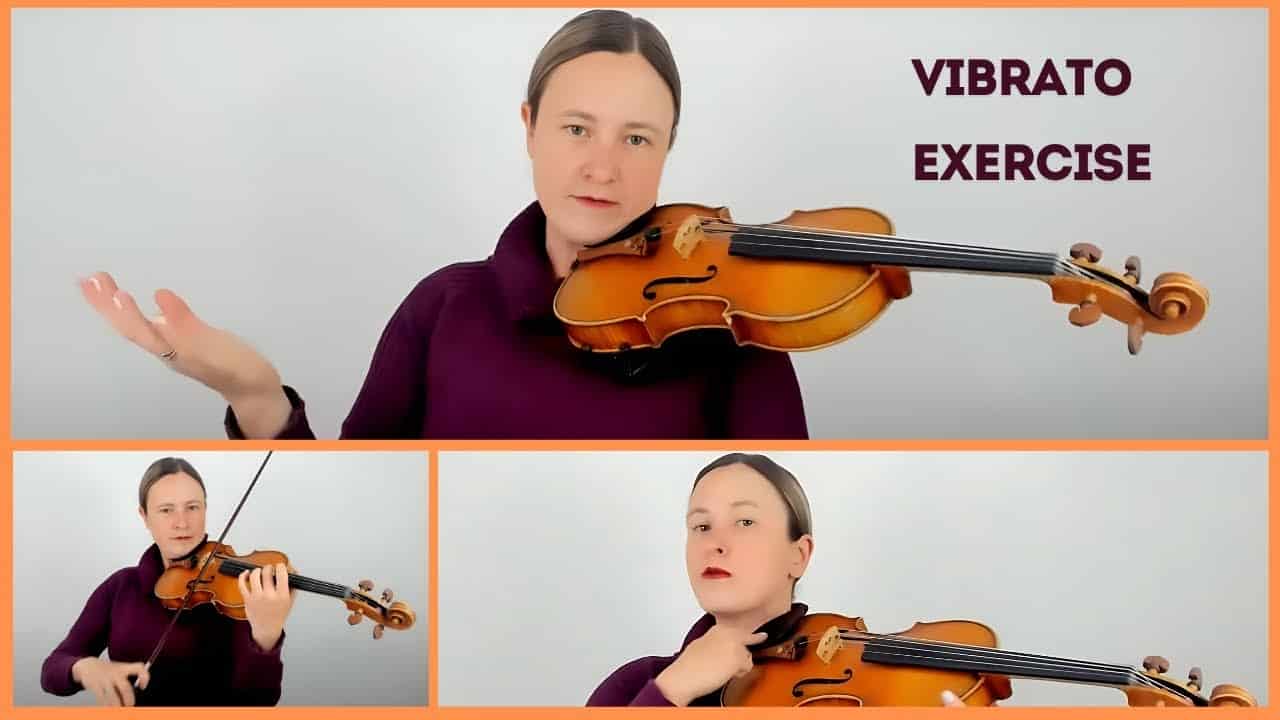
With practice, your fingers will begin to “remember” the exact positions of the fingers upon each note. It’s all about the muscle memory that would later be crucial in the higher-order playing techniques: shifting and vibrato.
Conclusion
Setting your fingers right is one of the very first steps in learning the violin. And thus, attention to proper positioning of hands, scale practicing, and helping means-like tape and tuners-will bring you rapidly to more accurate and confident playing. Improvement in everything takes time, and it depends on regular practice.